Performing an Installation with Limited Privileges v11
To perform an abbreviated installation of Advanced Server without access to administrative privileges, invoke the installer from the command line and include the --extract-only option. The --extract-only option extracts the binary files in an unaltered form, allowing you to experiment with a minimal installation of Advanced Server.
If you invoke the installer with the --extract-only options, you can either manually create a cluster and start the service, or run the installation script. To manually create the cluster, you must:
- Use
initdbto initialize the cluster - Configure the cluster
- Use
pg_ctlto start the service
For more information about the initdb and pg_ctl commands, see the PostgreSQL Core Documentation at:
https://www.postgresql.org/docs/11/static/app-initdb.html
https://www.postgresql.org/docs/11/static/app-pg-ctl.html
If you include the --extract-only option, the installer steps through a shortened form of the Setup wizard. During the brief installation process, the installer generates an installation script that can be later used to complete a more complete installation. You must have administrative privileges to invoke the installation script.
The installation script:
- Initializes the database cluster if the cluster is empty.
- Configures the server to start at boot-time.
- Establishes initial values for Dynatune (dynamic tuning) variables.
The scripted Advanced Server installation does not create menu shortcuts or provide access to EDB Postgres StackBuilder Plus, and no modifications are made to registry files.
To perform a limited installation and generate an installation script, download and unpack the Advanced Server installer. Navigate into the directory that contains the installer, and invoke the installer with the command:
edb-as11-server-11.x.x-x-windows.exe --extract-only yes
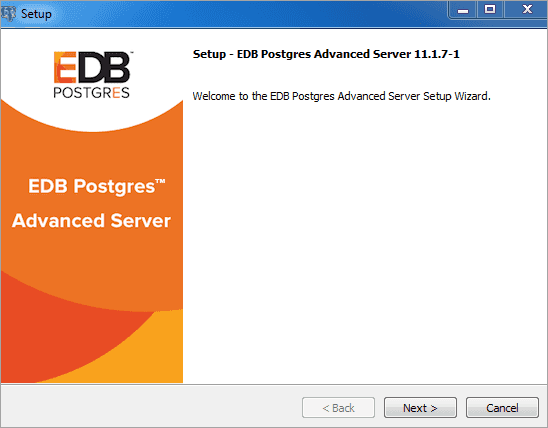
A dialog opens, prompting you to choose an installation language. Select a language for the installation from the drop-down listbox, and click OK to continue. The Setup Wizard opens.

Click Next to continue.

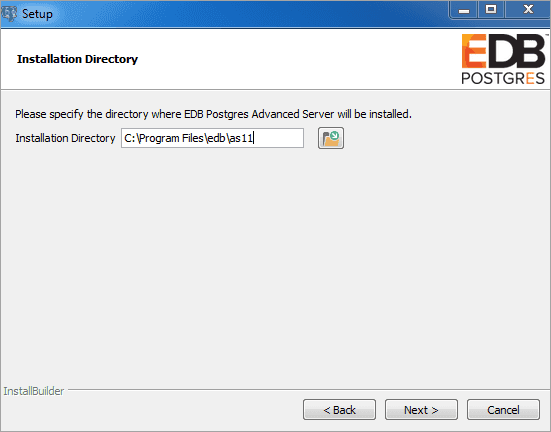
On Windows, the default Advanced Server installation directory is:
C:\Program Files\edb\as11
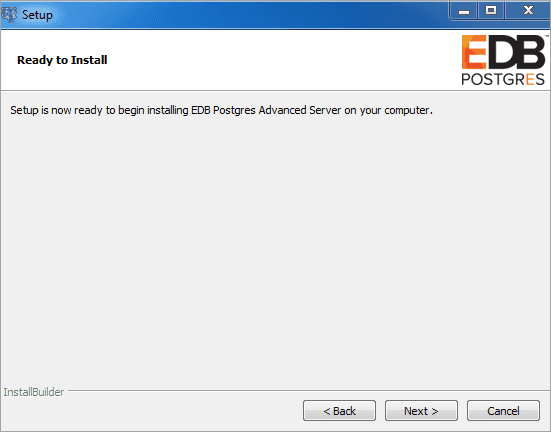
You can accept the default installation location and click Next to continue to the Ready to Install window, or optionally click the File Browser icon to choose an alternate installation directory.

Click Next to proceed with the Advanced Server installation. During the installation, progress bars and popups mark the installation progress. The installer notifies you when the installation is complete.

After completing the minimal installation, you can execute a script to initialize a cluster and start the service. The script is (by default) located in:
C:\Program Files\edb
To execute the installation script, open a command line and assume administrative privileges. Navigate to the directory that contains the script, and execute the command:
cscript runAsAdmin.vbs
The installation script executes at the command line, prompting you for installation configuration information. The default configuration value is displayed in square braces immediately before each prompt; update the default value or press Enter to accept the default value and continue.
Example
The following dialog is an example of a scripted installation. The actual installation dialog may vary, and will reflect the options specified during the installation.
Specify the installation directory is the directory where Advanced Server is installed:
Please enter the installation directory [ C:\Program Files\edb\as11 ] :
Specify the directory in which Advanced Server data will be stored:
Please enter the data directory path: [C:\Program Files\edb\as11\data ] :
Specify the WAL directory (where the write-ahead log will be written):
Please enter the Write-Ahead Log (WAL) directory path: [C:\Program Files\edb\as11\data\pg_wal ] :
The database mode specifies the database dialect with which the Advanced Server installation is compatible. The optional values are oracle or postgresql.
Please enter database mode: [ oracle ] :
Compatible with Oracle Mode
Specify oracle mode to include the following functionality:
- Data dictionary views and data type conversions compatible with Oracle databases.
- Date values displayed in a format compatible with Oracle syntax.
- Oracle-styled concatenation rules (if you concatenate a string value with a
NULLvalue, the returned value is the value of the string). - Schemas (
dboandsys) compatible with Oracle databases added to theSEARCH_PATH. - Support for the Oracle built-in packages.
If you choose to install in Compatible with Oracle mode, the Advanced Server superuser name is enterprisedb.
Compatible with PostgreSQL Mode
Specify postgresql to install Advanced Server with complete compatibility with Postgres version 11.
For more information about PostgreSQL functionality, see the PostgreSQL Core Documentation available at:
https://www.enterprisedb.com/docs
If you choose to install in Compatible with PostgreSQL mode, the Advanced Server superuser name is postgres.
Specify a port number for the Advanced Server listener to listen on:
NOTE: We will not be able to examine, if port is currently used by other application.
Please enter port: [ 5444 ] :
Specify a locale for the Advanced Server installation. If you accept the DEFAULT value, the locale defaults to the locale of the host system.
Please enter the locale: [ DEFAULT ] :
You can optionally install sample tables and procedures. Press Return, or enter Y to accept the default and install the sample tables and procedures; enter an n and press Return to skip this step.
Install sample tables and procedures? (Y/n): [ Y ] :
Specify a password for the database superuser. By default, the database superuser is named enterprisedb.
Please enter the password for the SuperUser(enterprisedb): [ ] :
Specify a password for the service account user.
Please enter the password for the ServiceAccount(enterprisedb): [ ] :
The server utilization value is used as an initial value for the edb_dynatune configuration parameter. edb_dynatune determines how Advanced Server allocates system resources.
- A low value dedicates the least amount of the host machine’s resources to the database server; a low value is a good choice for a development machine.
- A mid-range value dedicates a moderate amount of system resources to the database server. A mid-range value is a good setting for an application server with a fixed number of applications running on the same host as Advanced Server.
- A high value dedicates most of the system resources to the database server. This is a good choice for a dedicated server host.
Specify a value between 1 and 100:
Please enter the Server Utilization: [ 66 ] :
After the installation is complete, you can adjust the value of edb_dynatune by editing the postgresql.conf file, located in the data directory of your Advanced Server installation. After editing the postgresql.conf file, you must restart the server for the changes to take effect.
The workload profile value is used as an initial value for the edb_dynatune_profile configuration parameter. edb_dynatune_profile controls performance-tuning based on the type of work that the server performs.
- Specify
oltpif the server will be supporting heavy online transaction workloads. - Specify
mixedif the server will provide a mix of transaction processing and data reporting. - Specify
reportingif the database server will be used for heavy data reporting.
Specify a value between 1 and 100:
Please enter the Workload Profile: [ oltp ] :
After the installation is complete, you can adjust the value of edb_dynatune_profile by editing the postgresql.conf file, located in the data directory of your Advanced Server installation, and restarting the server.
After processing, the Advanced Server installation is complete.