Performing an installation with limited privileges v13
To perform an abbreviated installation of Advanced Server without access to administrative privileges, invoke the installer from the command line and include the --extract-only option. The --extract-only option extracts the binary files in an unaltered form, allowing you to experiment with a minimal installation of Advanced Server.
If you invoke the installer with the --extract-only options, you can either manually create a cluster and start the service, or run the installation script. To manually create the cluster, you must:
- Use
initdbto initialize the cluster - Configure the cluster
- Use
pg_ctlto start the service
For more information about the initdb and pg_ctl commands, see the PostgreSQL Core Documentation at:
https://www.postgresql.org/docs/current/static/app-initdb.html
https://www.postgresql.org/docs/current/static/app-pg-ctl.html
If you include the --extract-only option, the installer steps through a shortened form of the Setup wizard. During the brief installation process, the installer generates an installation script that can be later used to complete a more complete installation. You must have administrative privileges to invoke the installation script.
The installation script:
- Initializes the database cluster if the cluster is empty.
- Configures the server to start at boot-time.
- Establishes initial values for Dynatune (dynamic tuning) variables.
The scripted Advanced Server installation does not create menu shortcuts or provide access to EDB Postgres StackBuilder Plus, and no modifications are made to registry files.
To perform a limited installation and generate an installation script, download and unpack the Advanced Server installer. Navigate into the directory that contains the installer, and invoke the installer with the command:
edb-as13-server-13.x.x-x-windows.exe --extract-only yes
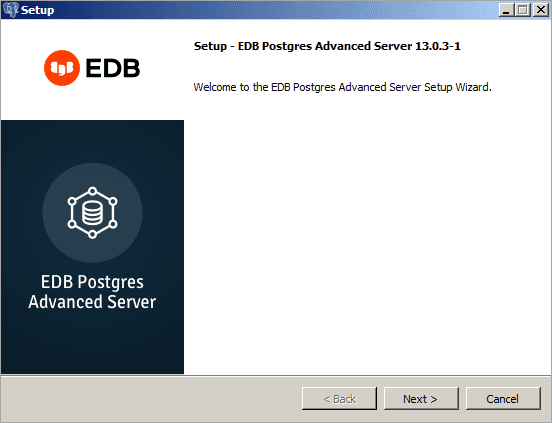
A dialog opens, prompting you to choose an installation language. Select a language for the installation from the drop-down listbox, and click OK to continue. The Setup Wizard opens.

Click Next to continue.

On Windows, the default Advanced Server installation directory is:
C:\Program Files\edb\as13
You can accept the default installation location and click Next to continue to the Ready to Install window, or optionally click the File Browser icon to choose an alternate installation directory.

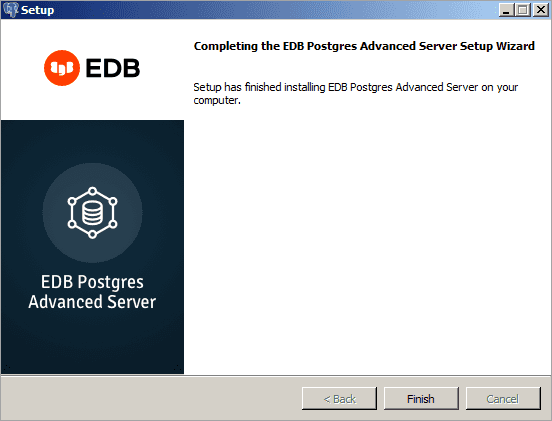
Click Next to proceed with the Advanced Server installation. During the installation, progress bars and popups mark the installation progress. The installer notifies you when the installation is complete.

After completing the minimal installation, you can execute a script to initialize a cluster and start the service. The script is (by default) located in:
C:\Program Files\edb