Installing on Windows v14
You can use the EDB Connectors Installation wizard to add the EDB OCL connector to your Windows system; the wizard is available at the EDB website.
This section demonstrates using the Installation Wizard to install the Connectors on a Windows system. (Download the installer, and then, right-click on the installer icon, and select Run As Administrator from the context menu.)
When the Language Selection popup opens, select an installation language and click OK to continue to the Setup window.
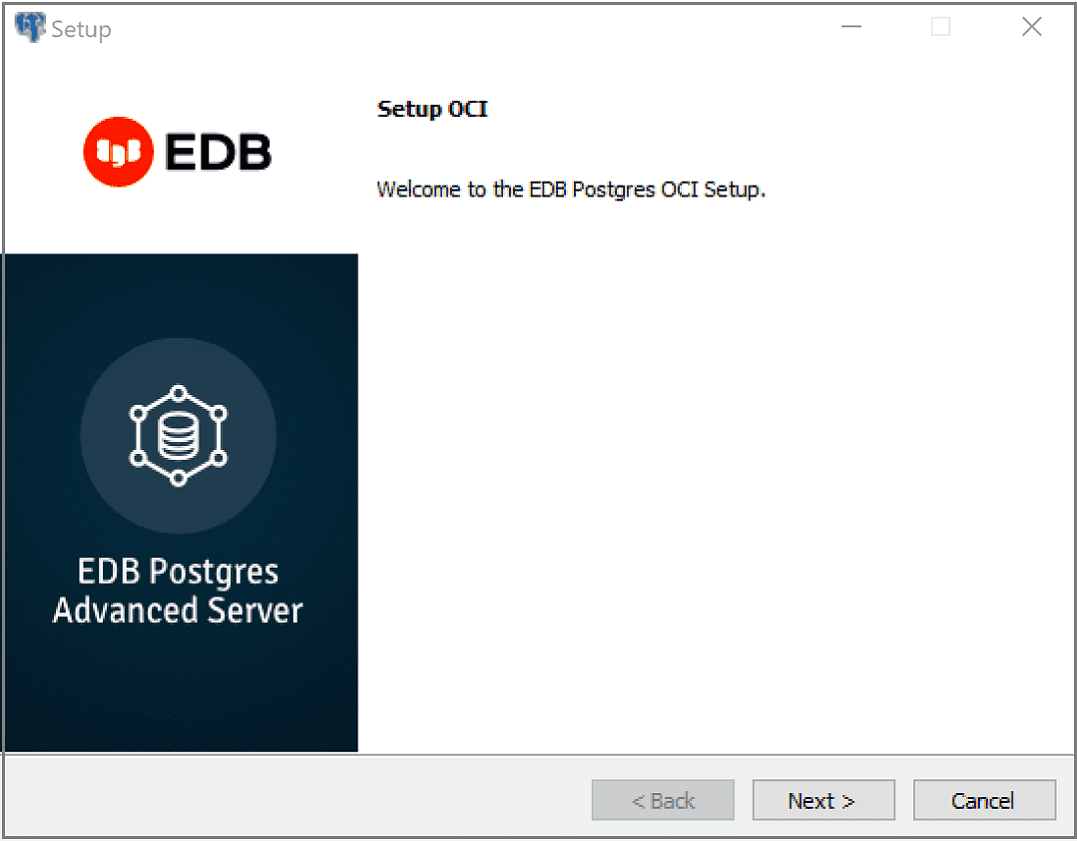
The OCL Connector Installation wizard
Click Next to continue.
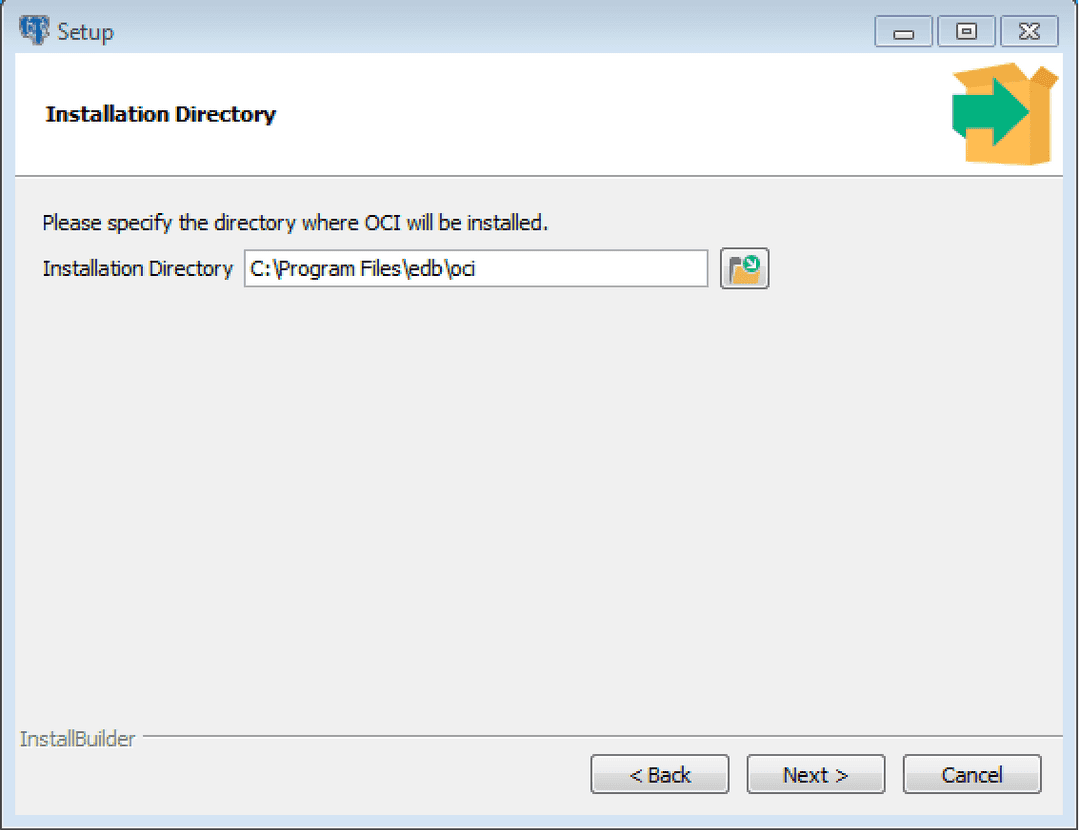
The Installation dialog
Use the Installation Directory dialog to specify the directory in which the connector will be installed, and click Next to continue.
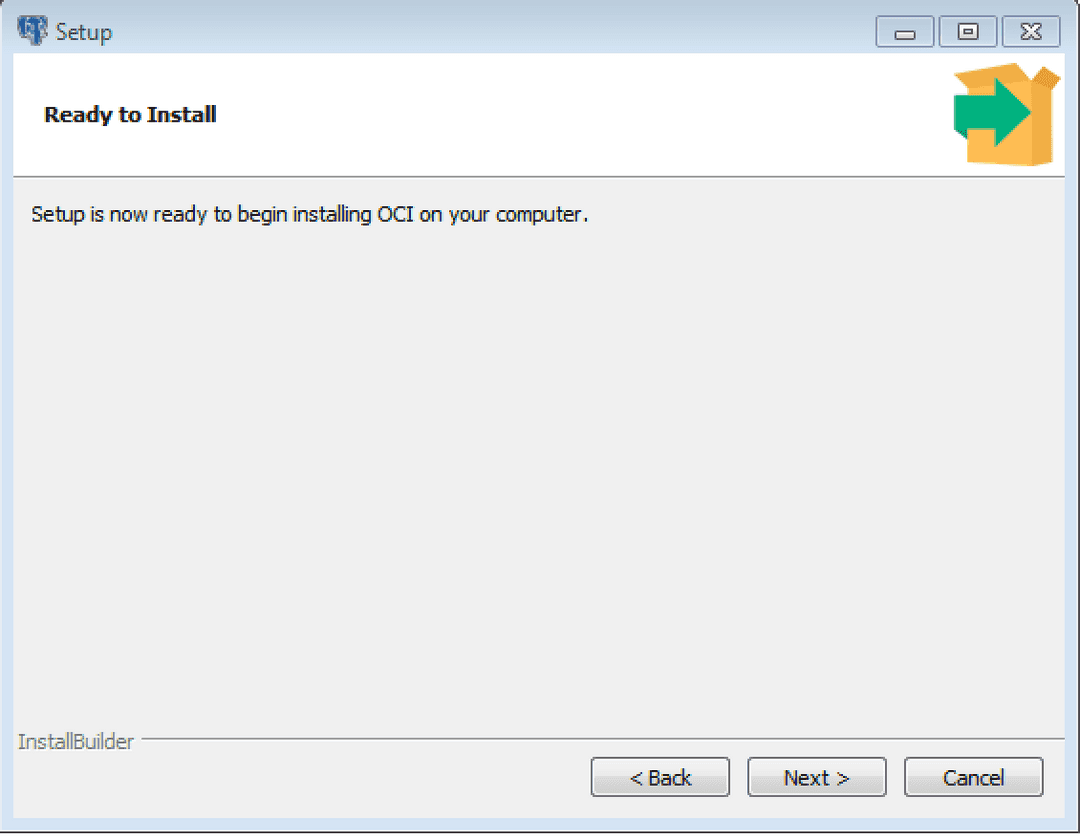
The Ready to Install dialog
Click Next on the Ready to Install dialog to start the installation; popup dialogs confirm the progress of the installation wizard.
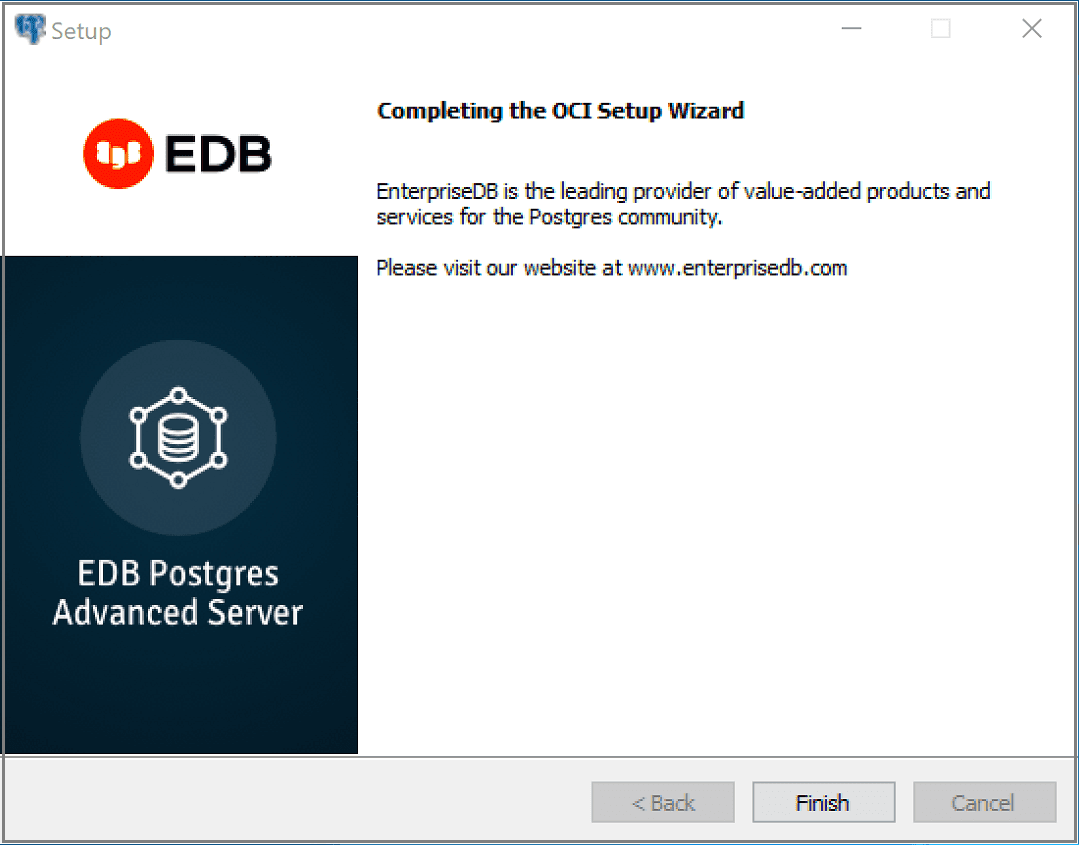
The installation is complete
When the wizard informs you that it has completed the setup, click the Finish button to exit the dialog.
You can also use StackBuilder Plus to add or update the connector on an existing Advanced Server installation; to open StackBuilder Plus, select StackBuilder Plus from the Windows Apps menu.
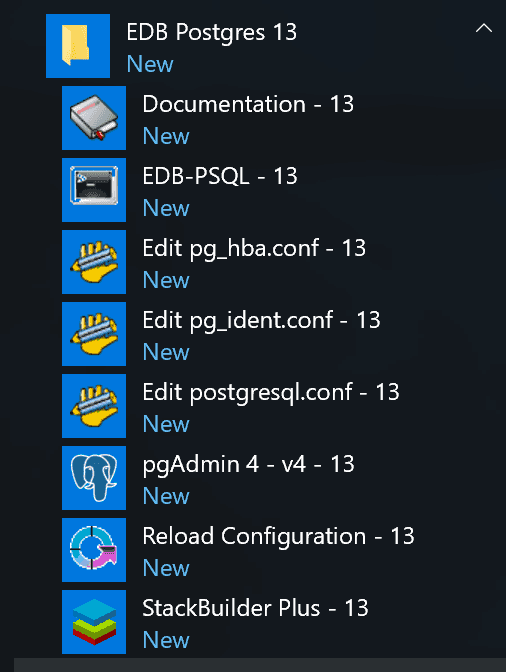
Starting StackBuilder Plus
When StackBuilder Plus opens, follow the onscreen instructions. Select the EnterpriseDB OCI Connector option from the Database Drivers node of the tree control.
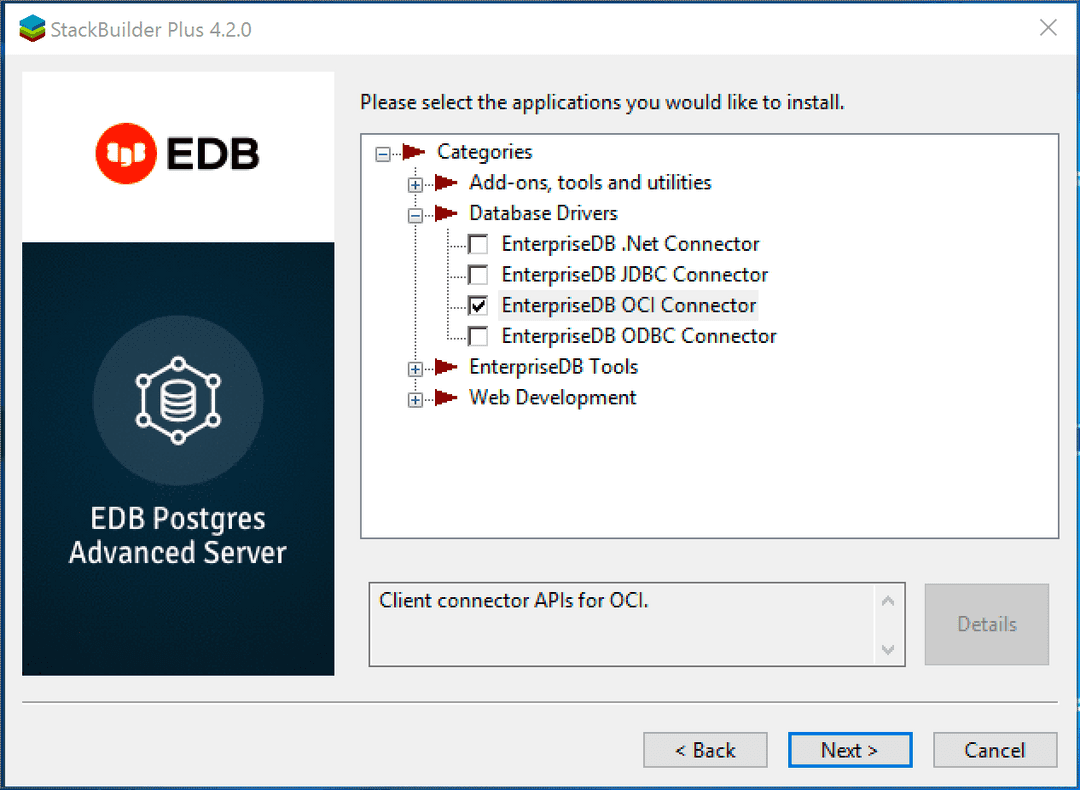
Selecting the Connectors installer
Follow the directions of the onscreen wizard to add or update an installation of the EDB Connectors.