Using
Suggest editsAfter DBeaver PRO is connected to an instance of EDB Postgres Advanced Server or EDB Postgres Extended Server, you can access the capabilities of DBeaver PRO.
Note
We refer to EDB Postgres Advanced Server, EDB Postgres Extended Server, and PostgreSQL as the Postgres distribution. The specific distribution type depends on your needs and preferences.
Sample user scenarios
Note
These user scenarios are provided as example use cases of DBeaver PRO and EDB Postgres Advanced Server or EDB Postgres Extended Server. They aren't intended to show all functionality.
Connecting to the database
- Launch DBeaver PRO.
- Double-click the database connection you want to open.
- Enter the username and password, and select OK.

You are now connected to your database instance.
Viewing tables and data
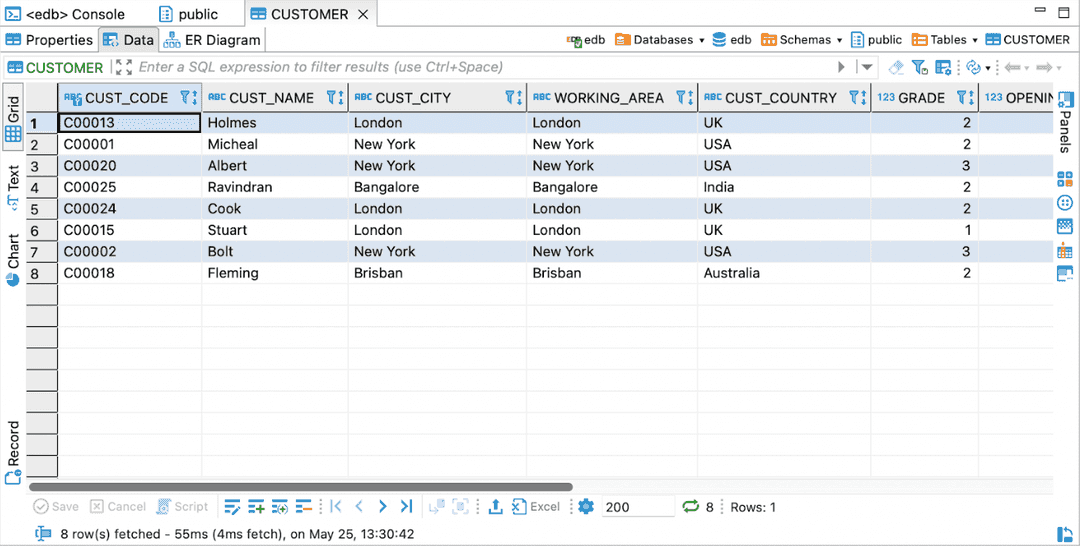
Using the appropriate SQL code, three tables (AGENTS, CUSTOMERS, and ORDERS) were created in the edb database, and data was inserted to help visualize some basic functionality.
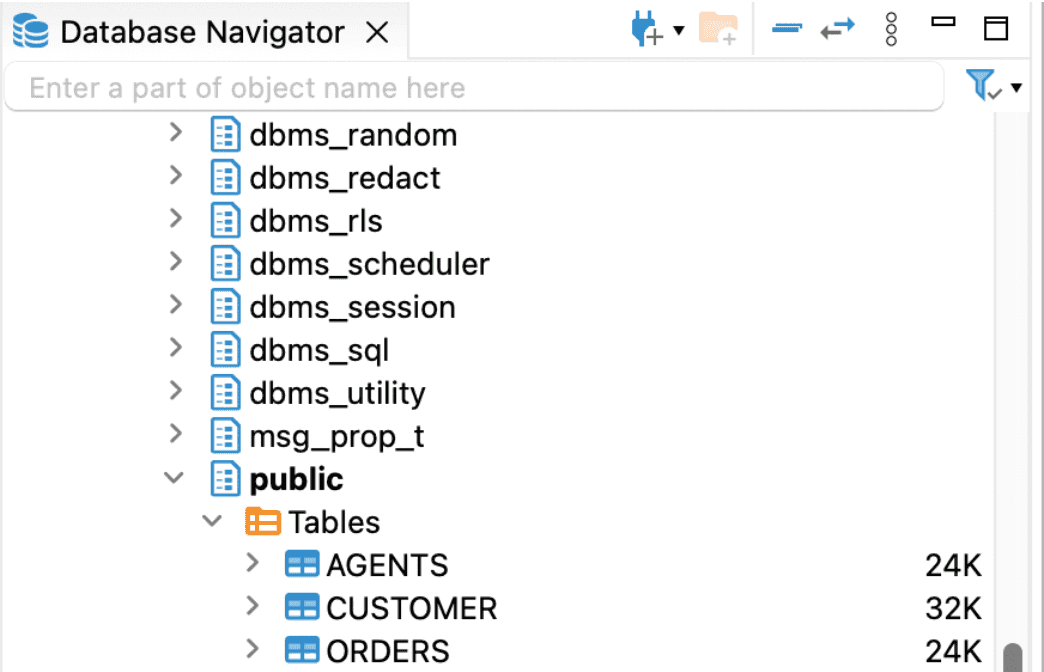
- In the Database Navigator, right-click your database. In this example that's edb.
- Select SQL Editor > Open SQL Console. This opens a console where you can enter and run SQL code.

- After the tables are created, double-click the table name to look at the properties. The figure shows the properties of the
Customerstable.

- Select the Data tab to view the data in the table.
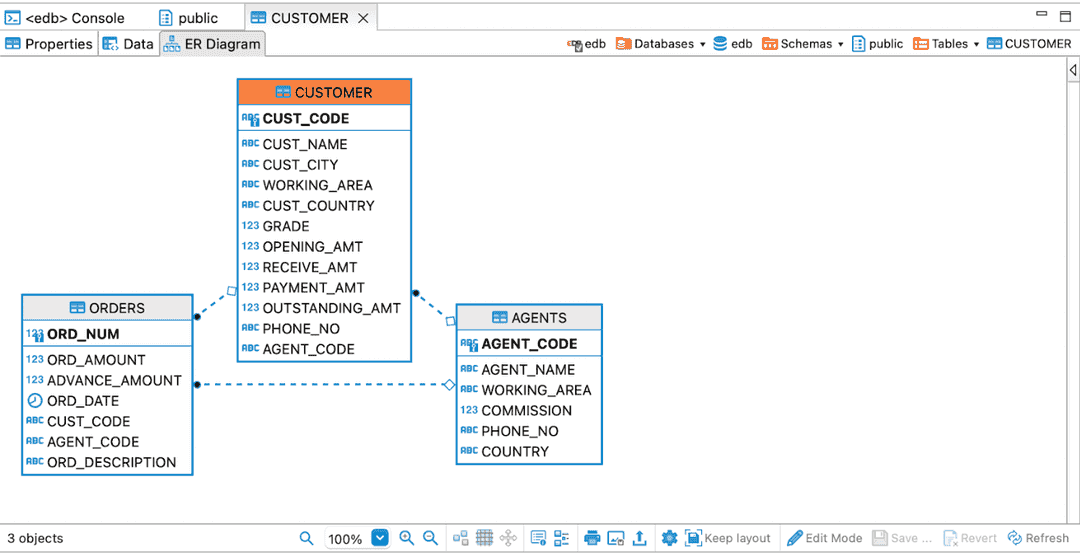
- Select the ER Diagram tab to view the Entity Relationships for the table.
Using schema compare
DBeaver introduced the schema compare feature that allows you to compare schemas, databases, or tables. You can compare two schema/database structures and generate a report.
See the DBeaver documentation for more details on how to enable the full functionality of this feature, along with its requirements.
In the database navigator, right-click the schema, database, or table you want to compare.
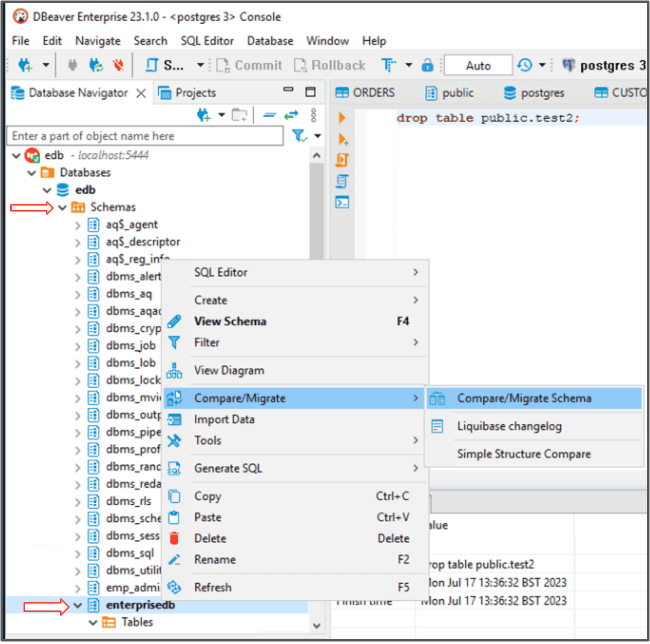
From the context menu, select Compare/Migrate > Compare/Migrate Schema.
When the Schema Compare window opens, the source schema/database/table you selected in the first step is selected.
In the list of targets, expand the tree and select the database for your target.
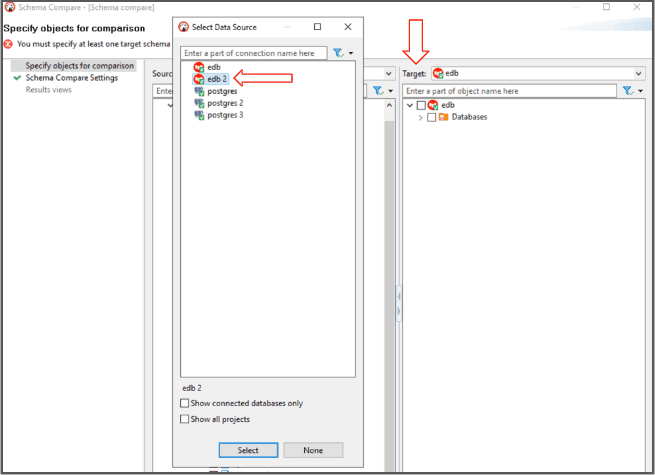
Expand the target sources until you get to the item you want to compare. In this example, the EnterpriseDB schema is selected for the source, and the public schema is selected for the target.
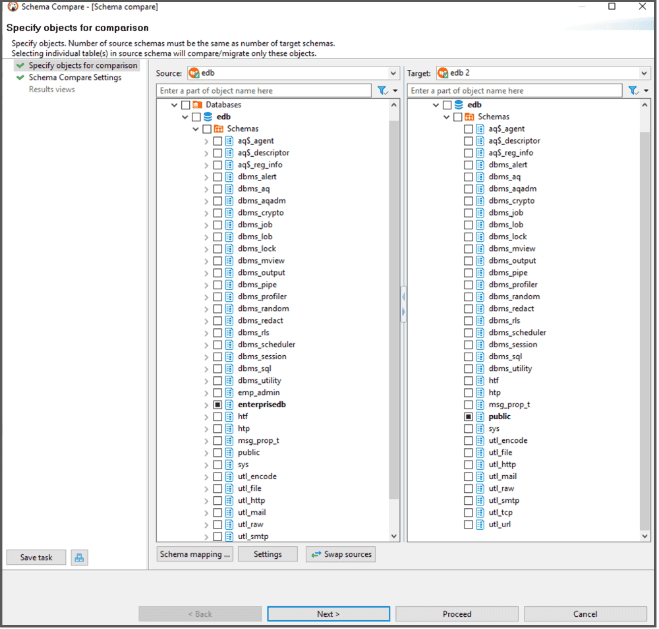
Select Next.
On the Schema Compare Settings page, make sure all of the objects that you want to compare are selected. You can also select the type of report engine for your needs.
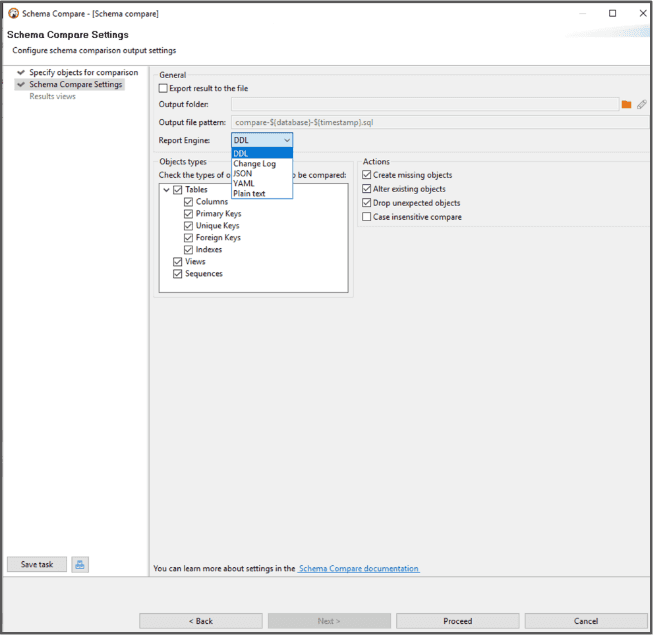
Select Proceed.
The Results window is generated, where you can compare your data and save a report. In this example, the schemas were the same so the results don't show any difference.
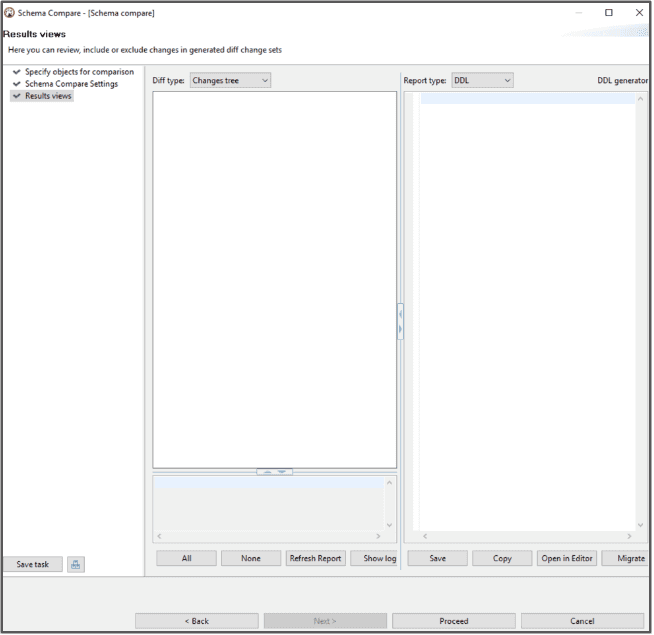
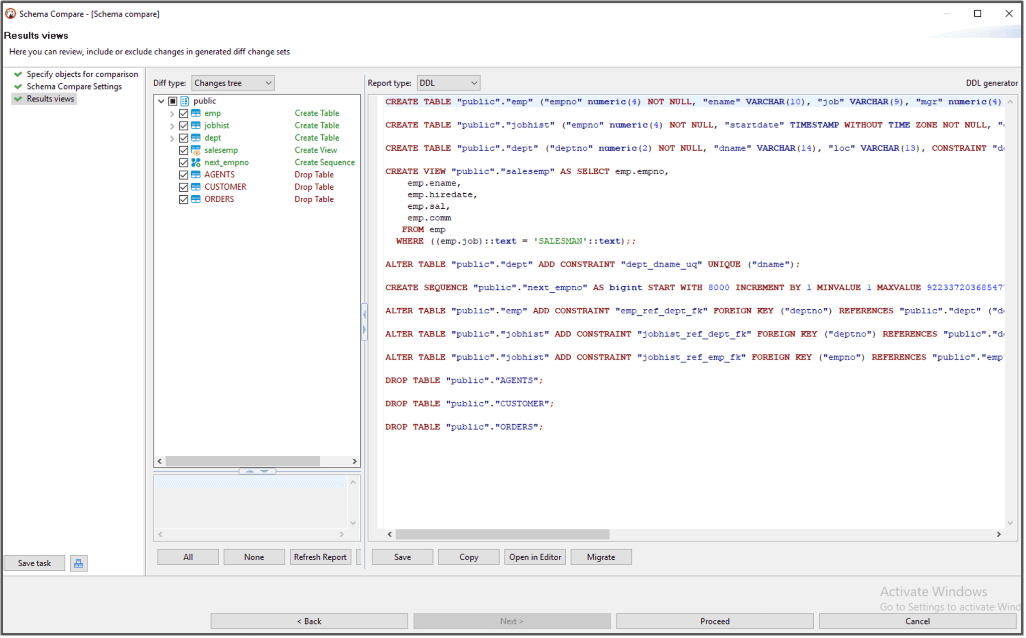
You usually compare schemas that aren't the same. The following image shows what the report can look like when comparing different schemas in a database.
- On this page
- Sample user scenarios
Could this page be better? Report a problem or suggest an addition!