Installing and configuring the .NET Connector v7.0.6.2
Installing the .NET Connector
You can use the EDB .NET Connector Installer (available from the EDB website) to add the .NET Connector to your system.
After downloading the installer, right-click the installer icon, and select Run As Administrator from the context menu. When prompted, select an installation language and select OK to continue to the Setup window.
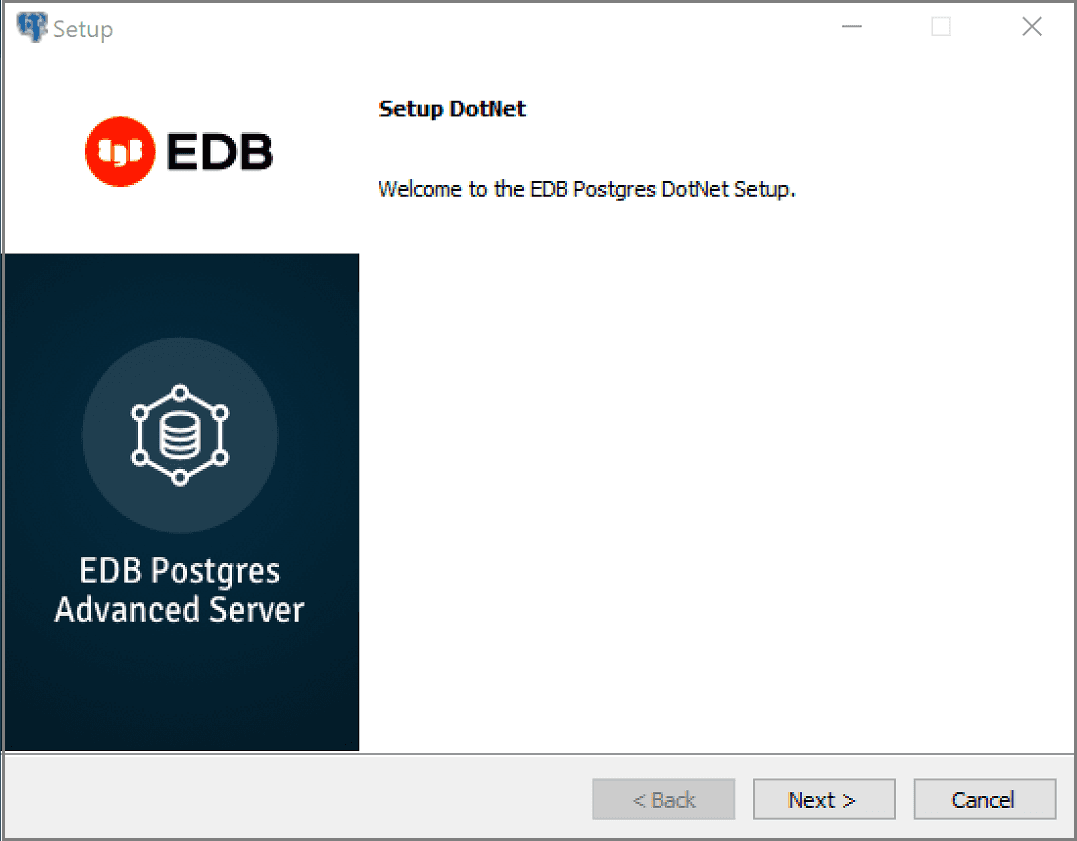
Select Next.
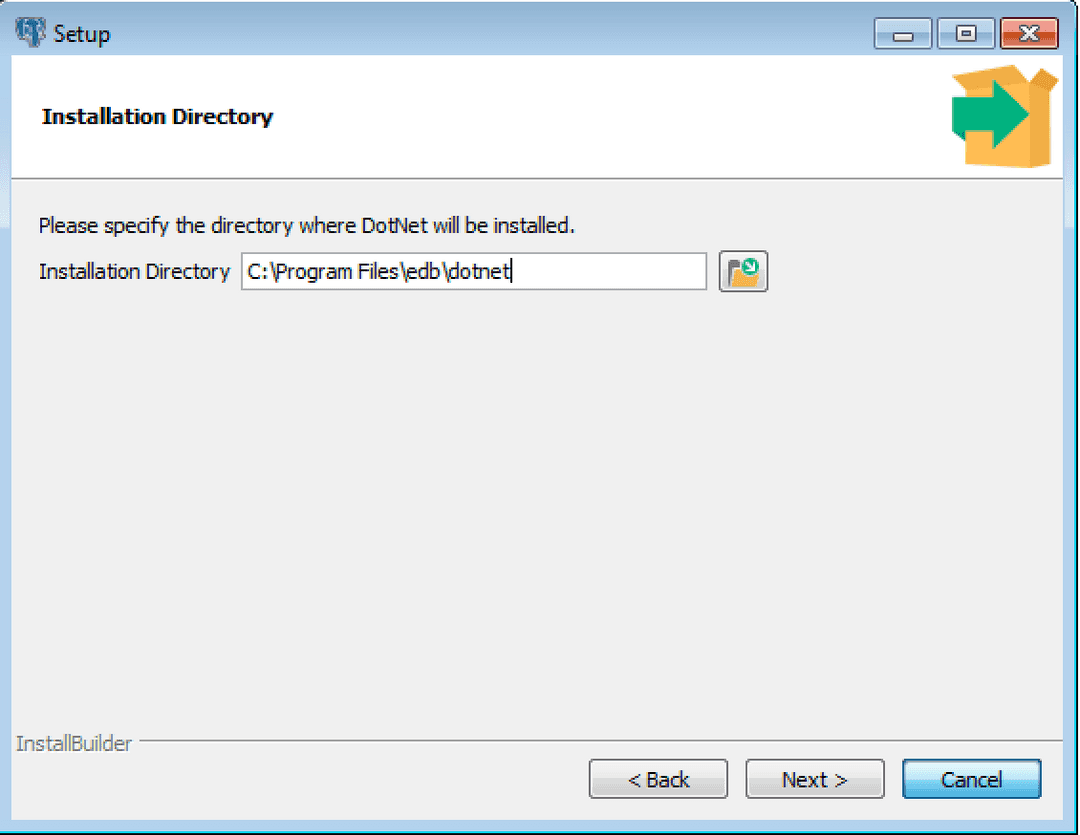
Use the Installation Directory dialog box to specify the directory in which to install the connector. Select Next.
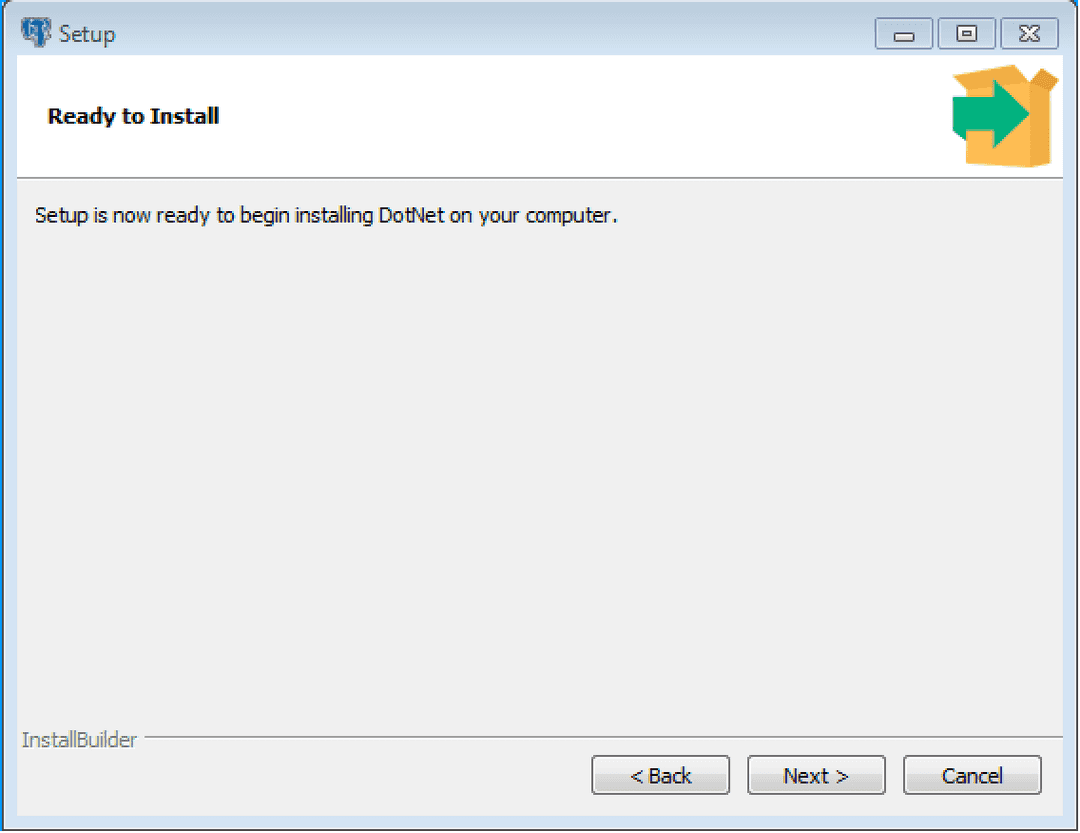
To start the installation, on the Ready to Install dialog box, select Next. Popups confirm the progress of the installation wizard.
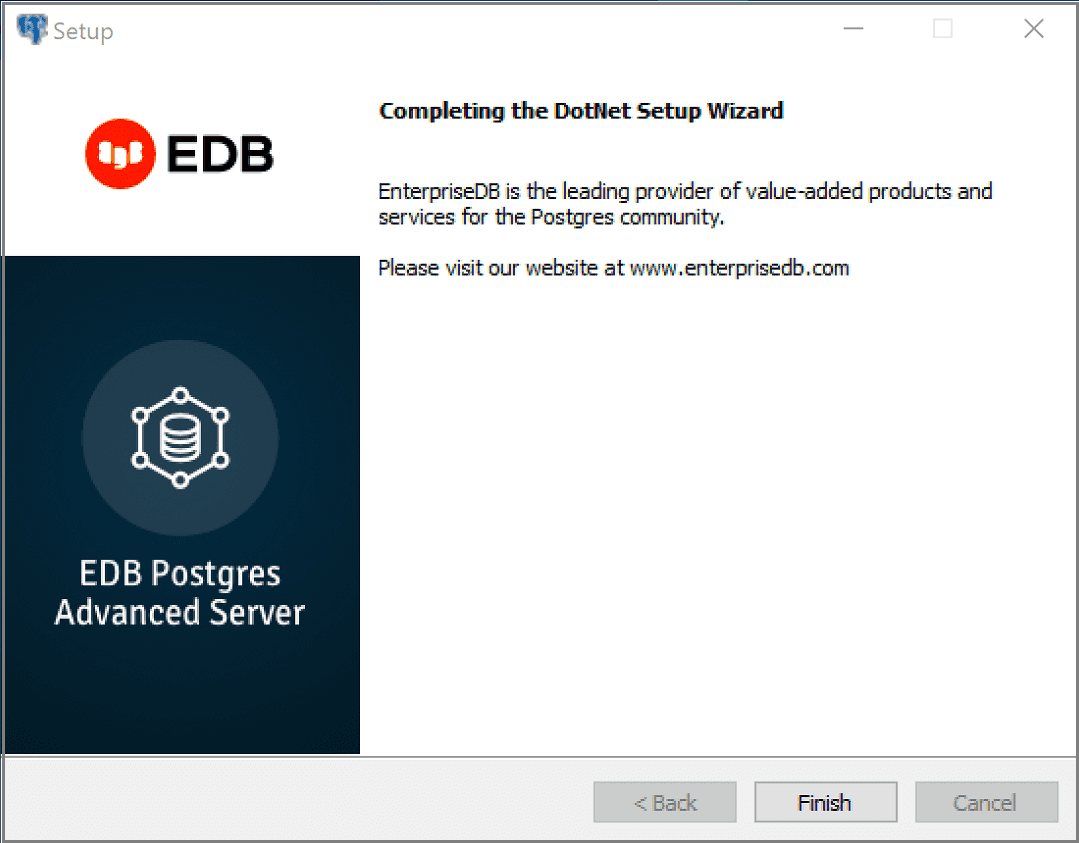
When the wizard informs you that it has completed the setup, select Finish.
You can also use StackBuilder Plus to add or update the connector on an existing Advanced Server installation.
To open StackBuilder Plus, from the Windows Apps menu, select StackBuilder Plus.
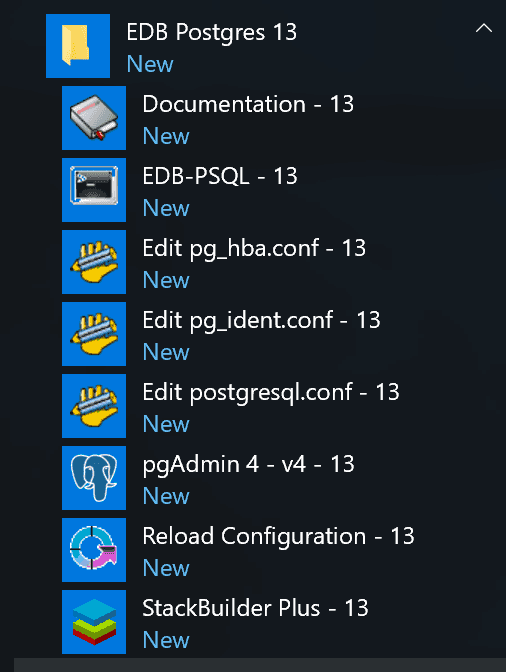
When StackBuilder Plus opens, follow the onscreen instructions.
From the Database Drivers node of the tree control, select the EnterpriseDB.Net Connector option.
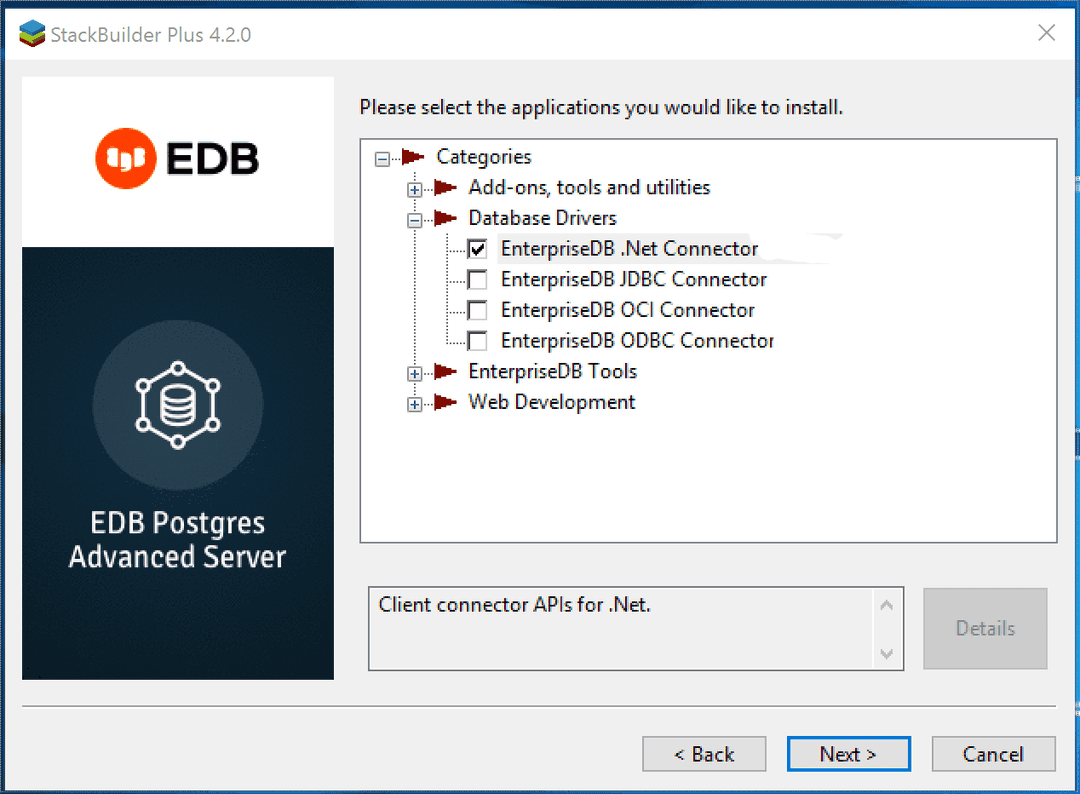
Follow the directions of the onscreen wizard to add or update an installation of an EDB Connector.
Configuring the .NET Connector
For information about configuring the .NET Connector in each environment, see:
- Referencing the Library Files. General configuration information applicable to all components.
- .NET 7.0 Instructions for configuring for use with .NET 7.0
- .NET 6.0 Instructions for configuring for use with .NET 6.0.
- .NET Framework 4.7.2 Instructions for configuring for use with .NET framework 4.7.2.
- .NET Framework 4.8 Instructions for configuring for use with .NET Framework 4.8.
- .NET Framework 4.8.1 Instructions for configuring for use with .NET Framework 4.8.1.
- .NET Standard 2.0 Instructions for configuring for use with .NET Standard 2.0.
- .NET Standard 2.1 Instructions for configuring for use with .NET Standard 2.1.
- .NET EntityFramework Core Instructions for configuring for use with .NET EntityFramework Core.
Referencing the library files
To reference library files with Microsoft Visual Studio:
- Select the project in the Solution Explorer.
- Select Project > Add Reference.
- In the Add Reference` dialog box, browse to select the appropriate library files.
Optionally, you can copy the library files to the specified location.
Before you can use an EDB .NET class, you must import the namespace into your program. Importing a namespace makes the compiler aware of the classes available within the namespace. The namespace is EnterpriseDB.EDBClient.
The method you use to include the namespace varies by the type of application you're writing. For example, the following command imports a namespace into an ASP.NET page:
<% import namespace="EnterpriseDB.EDBClient" %>
To import a namespace into a C# application, use:
using EnterpriseDB.EDBClient;
.NET framework setup
Each .NET version has specific setup instructions.
.NET 7.0
For .NET 7.0, the data provider installation path is C:\Program Files\edb\dotnet\net7.0\.
You must add the following dependencies to your project:
EnterpriseDB.EDBClient.dll
Depending on your application type, you might need to import the namespace into the source code. See Referencing the library files for this and the other information about referencing the library files.
.NET 6.0
For .NET 6.0, the data provider installation path is:
C:\Program Files\edb\dotnet\net6.0\
You must add the following dependencies to your project:
EnterpriseDB.EDBClient.dll
Depending on your application type, you might need to import the namespace into the source code. See Referencing the library files for this and the other information about referencing library files.
.NET Framework 4.7.2
For .NET Framework 4.7.2, the data provider installation path is:
C:\Program Files\edb\dotnet\net472\.
You must add the following dependency to your project. You may also need to add other dependencies from the same directory:
EnterpriseDB.EDBClient.dll
Depending on your application type, you might need to import the namespace into the source code. See Referencing the library files for this and the other information about referencing the library files.
.NET Framework 4.8
For .NET Framework 4.8, the data provider installation path is:
C:\Program Files\edb\dotnet\net48\.
You must add the following dependency to your project. You may also need to add other dependencies from the same directory:
EnterpriseDB.EDBClient.dll
Depending on your application type, you might need to import the namespace into the source code. See Referencing the library files for this and the other information about referencing the library files.
.NET Framework 4.8.1
For .NET Framework 4.8.1, the data provider installation path is:
C:\Program Files\edb\dotnet\net481\.
You must add the following dependency to your project. You may also need to add other dependencies from the same directory:
EnterpriseDB.EDBClient.dll
Depending on your application type, you might need to import the namespace into the source code. See Referencing the library files for this and the other information about referencing the library files.
.NET Standard 2.0
For .NET Standard Framework 2.0, the data provider installation path is:
C:\Program Files\edb\dotnet\netstandard2.0\.
You must add the following dependencies to your project:
EnterpriseDB.EDBClient.dllSystem.Threading.Tasks.Extensions.dllSystem.Runtime.CompilerServices.Unsafe.dllSystem.ValueTuple.dll
Depending on your application type, you might need to import the namespace into the source code. See Referencing the library files for this and the other information about referencing the library files.
.NET Standard 2.1
For .NET Standard Framework 2.1, the data provider installation path is C:\Program Files\edb\dotnet\netstandard2.1\.
The following shared library files are required:
EnterpriseDB.EDBClient.dllSystem.Memory.dllSystem.Runtime.CompilerServices.Unsafe.dllSystem.Text.Json.dllSystem.Threading.Tasks.Extensions.dllSystem.ValueTuple.dll
Depending on your application type, you might need to import the namespace into the source code. See Referencing the library files for this and the other information about referencing the library files.
.NET Entity Framework Core
To configure the .NET Connector for use with Entity Framework Core, the data provider installation path is either:
C:\Program Files\edb\dotnet\EF.Core\EFCore.PG\net7.0C:\Program Files\edb\dotnet\EF.Core\EFCore.PG\net6.0
The following shared library file is required:
EnterpriseDB.EDBClient.EntityFrameworkCore.PostgreSQL.dll
Note
You can use Entity Framework Core with the EnterpriseDB.EDBClient.dll library available in the net7.0 or net6.0 subdirectory.
See Referencing the library files for information about referencing the library files.
The following NuGet packages are required:
Microsoft.EntityFrameworkCore.DesignMicrosoft.EntityFrameworkCore.RelationalMicrosoft.EntityFrameworkCore.Abstractions
For usage information about Entity Framework Core, see the Microsoft documentation.
Prerequisite
To open a command prompt:
Select Tools > Command Line > Developer Command Prompt.
Install dotnet-ef (using the command prompt),
dotnet tool install --global dotnet-ef
Sample project
Create a new Console Application based on .NET 7.0 or .NET 6.0..
Add Reference to the following EDB assemblies:
EnterpriseDB.EDBClient.EntityFrameworkCore.PostgreSQL.dllEnterpriseDB.EDBClient.dll
Add the following NuGet packages:
Microsoft.EntityFrameworkCore.DesignMicrosoft.EntityFrameworkCore.RelationalMicrosoft.EntityFrameworkCore.Abstractions
Database-first scenario
Issue the following command to create model classes corresponding to all objects in the specified database:
dotnet ef dbcontext scaffold Host=<HOST>;Database=<DATABASE>;Username=<USER>;Password=<PASSWORD>;Port=<PORT> EnterpriseDB.EDBClient.EntityFrameworkCore.PostgreSQL -o Models
Code-first scenario
Add code for defining a DbContext and create, read, update, and delete operations.
For further details, see the Microsoft documentation.
Issue the following commands to create the initial database and tables:
  dotnet ef migrations add InitialCreate --context BloggingContext

  dotnet ef database update --context BloggingContext