Postgres Installer - A Step by Step Guide to install PostgreSQL

Here’s a step-by-step guide to install PostgreSQL on your machine using Postgres Installer. Postgres Installer supports three modes of installation; Graphical, Unattended and Text. We’re going to cover all three of them in this guide.
Download and Install PostgreSQL via Graphical Mode - Step-by-Step Guide
Step 1:
Download Postgres Installer here. Postgres Installer is available for PostgreSQL 9.5, 9.6, 10, 11, and 12(beta).
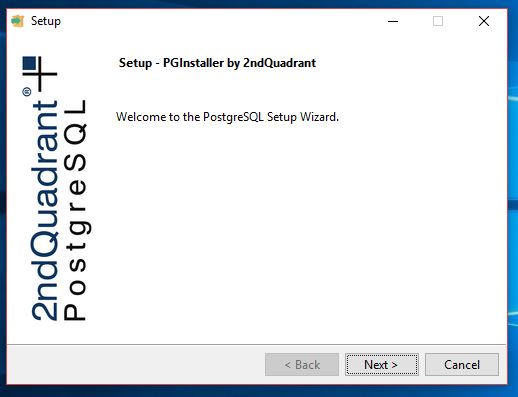
Step 2:
Click on the executable file to run the installer.
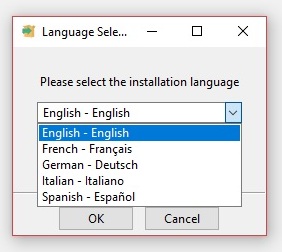
Step 3:
Select your preferred language.
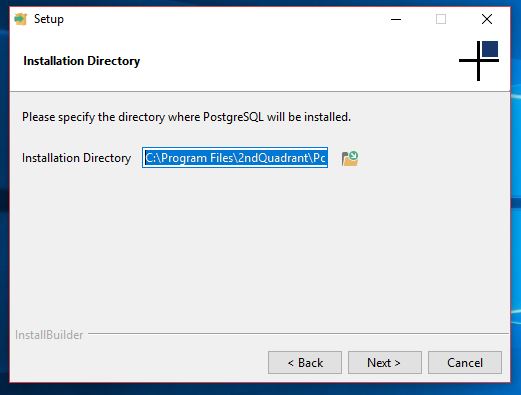
Step 4:
Specify directory where you want to install PostgreSQL.
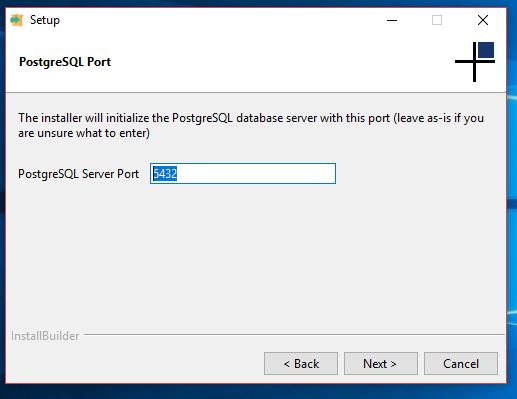
Step 5:
Specify PostgreSQL server port. You can leave this as default if you’re unsure what to enter.
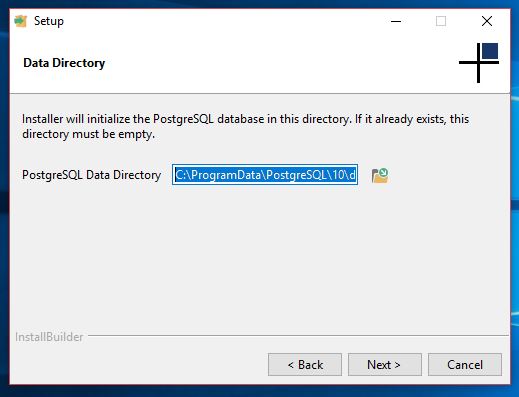
Step 6:
Specify data directory to initialize PostgreSQL database.
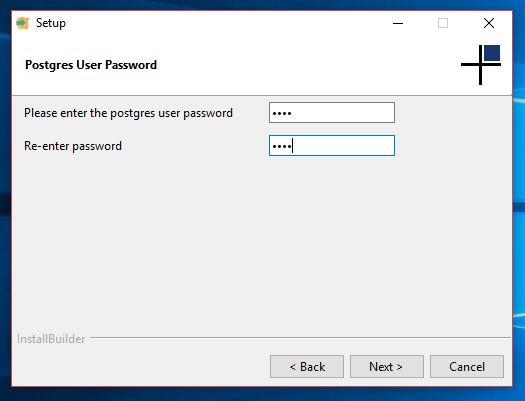
Step 7:
Create a PostgreSQL user password.
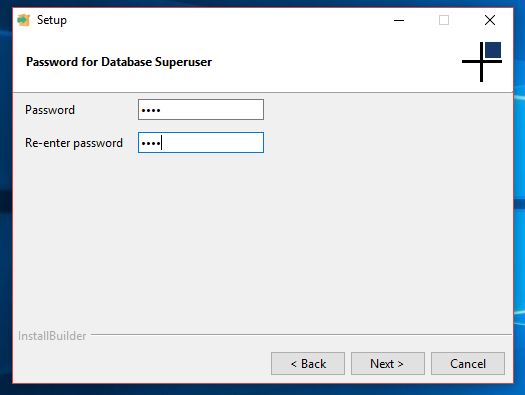
Step 8:
Create password for database Superuser.
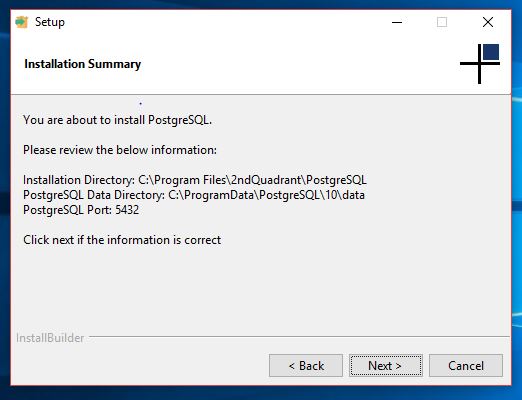
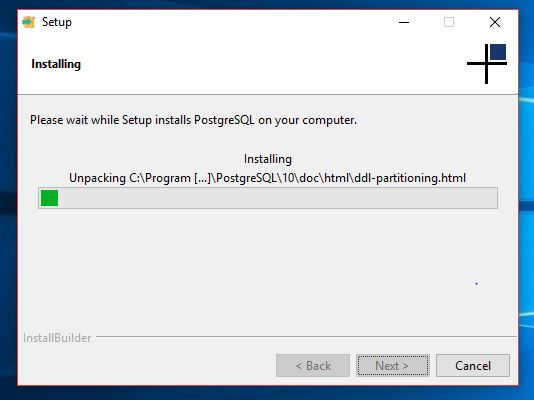
Step 9:
Click next to begin PostgreSQL installation.
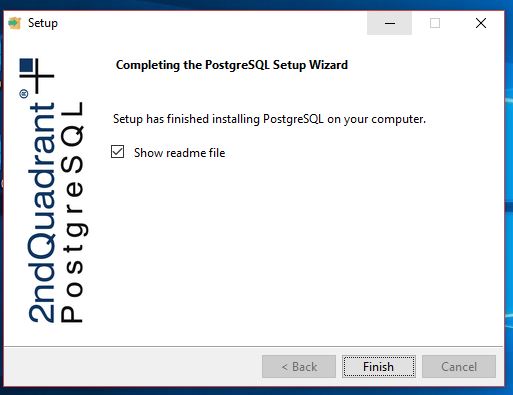
The readme file contains installation paths, service names and database credentials.
To Install PostgreSQL via Unattended Mode
Navigate to the directory that contains Postgres Installer and enter:
Windows:
PostgreSQL-10.9-1-windows-installer.exe --mode unattended --unattendedmodeui none --data_dir C:\ProgramData\postgresql\10\data --pg_port 5432 --pg_password --superuser_password
OSX:
PostgreSQL-10.4-1-osx-installer.app/Contents/MacOS/installbuilder.s --mode unattended --superuser_password database_superuser_password
Linux:
PostgreSQL-10.4-1-osx-installer-2.app/Contents/MacOS/installbuilder.s --mode unattended --superuser_password database_superuser_password
To Install PostgreSQL via Text Mode
Navigate to the directory that contains Postgres Installer and enter:
For Windows
PostgreSQL-10.4-1-windows-installer.exe --mode text
For OSX
PostgreSQL-10.4-1-osx-installer.app/Contents/MacOS/installbuilder.sh --mode text
For Linux
PostgreSQL-10.4-1-linux-x64-installer.run --mode text
Space requirements
For the complete Postgres Installer installation you will need approximately 60 mb of disk space.
Supported Platforms
|
Linux |
Windows |
OSX |
|
|
|
For feedback or queries related to Postgres Installer, contact us here.
Looking for more helpful information just like this? Explore our Postgres Tutorials.