How to use PostgreSQL with Django


In the early days of web development, the framework of choice was LAMP, or Linux+Apache+MySQL+PHP. While PHP is still a great language for coding, Python has picked up a lot of popularity. With its clean syntax and use in a variety of industries, Python becomes a natural choice for any budding coder. In this article, we’ll show you how to get Postgres connected with Django, a popular web application framework for Python.
Getting started
When working with Python, it’s highly recommended to use a virtual environment. This prevents dependency collisions and undesired behaviors that would otherwise arise from premature or unintended version changes. As such, we highly encourage you to use “virtualenv,” along with Python v. 3.x. Obtaining and installing Python v. 3.x is a task outside the scope of this article, but there are many resources out there that provide instructions on how to do this.
We will also assume that you’ve got a Postgres instance up and running somewhere. If you need help with that, we’ve got articles that you can refer to.
Creating a virtual environment
The first step to getting started with Django is to create the virtual environment. If you don’t already have “virtualenv” installed, then simply install with “pip”:
sudo pip install virtualenv
We’ll create a project folder called “myproject” in the “/var” directory:
mkdir /var/myproject

cd /var/myproject
Then, you will need to use “virtualenv” to create a place for the environment-specific dependencies to be installed:
[root@pga /]# virtualenv /var/myproject/myprojectenv

Using base prefix '/opt/rh/rh-python36/root/usr'

New python executable in /var/myproject/myprojectenv/bin/python3

Also creating executable in /var/myproject/myprojectenv/bin/python

Installing setuptools, pip, wheel...done.

[root@pga /]# ls /var/myproject/myprojectenv/

bin  include  lib  lib64
Then, activate the environment:
[root@pga /]# python --version

Python 2.7.5

[root@pga /]# source /var/myproject/myprojectenv/bin/activate

(myprojectenv) [root@pga /]# python --version

Python 3.6.3
To get Python working with Postgres, you will need to install the “psycopg2” module. However, you must first have pg_config installed on your OS:
[root@pga /]# pg_config

bash: pg_config: command not found

[root@pga /]# export PATH=/usr/pgsql-12/bin/:${PATH}

[root@pga /]# which pg_config

/usr/pgsql-12/bin/pg_config
If you can’t find pg_config on your OS, you will need to install a Postgres client first. After you ensure pg_config is available on your system, go ahead and install “psycopg2”:
# pip install psycopg2
Installing Django
Once we’ve activated the virtual environment, we can install Django into that environment, so as to keep things in your project from interfering with the host OS:
# pip install django
Once Django has been installed, you can start a new Django project:
(myprojectenv) [root@pga bin]# pwd

/var/myproject/myprojectenv/bin

(myprojectenv) [root@pga bin]# django-admin.py startproject myproject .
By default, Django is configured to use SQLite as its backend. To use Postgres instead, “myproject/settings.py” needs to be updated:
# cat myproject/settings.py

. . .

DATABASES = {

    'default': {

        'ENGINE': 'django.db.backends.postgresql_psycopg2',

        'NAME': ‘<db_name>’,

        'USER': '<db_username>',

        'PASSWORD': '<password>',

        'HOST': '<db_hostname_or_ip>',

        'PORT': '<db_port>',

    }

}

. . .
Once you’ve got things pointed to the Postgres database, you can build the default schema. If you didn’t know already, Django was designed with user access in mind, so by default a Django application will create a database schema involving users, groups, and permissions. To create the schema, generate a migration and run it:
(myprojectenv) [root@pga bin]# python manage.py makemigrations

No changes detected

(myprojectenv) [root@pga bin]# python manage.py migrate

Operations to perform:

  Apply all migrations: admin, auth, contenttypes, sessions

Running migrations:

  Applying contenttypes.0001_initial... OK

  Applying auth.0001_initial... OK

  Applying admin.0001_initial... OK

  Applying admin.0002_logentry_remove_auto_add... OK

  Applying admin.0003_logentry_add_action_flag_choices... OK

  Applying contenttypes.0002_remove_content_type_name... OK

  Applying auth.0002_alter_permission_name_max_length... OK

  Applying auth.0003_alter_user_email_max_length... OK

  Applying auth.0004_alter_user_username_opts... OK

  Applying auth.0005_alter_user_last_login_null... OK

  Applying auth.0006_require_contenttypes_0002... OK

  Applying auth.0007_alter_validators_add_error_messages... OK

  Applying auth.0008_alter_user_username_max_length... OK

  Applying auth.0009_alter_user_last_name_max_length... OK

  Applying auth.0010_alter_group_name_max_length... OK

  Applying auth.0011_update_proxy_permissions... OK

  Applying sessions.0001_initial... OK

(myprojectenv) [root@pga bin]#
After creating the default schema, create the default superuser:
(myprojectenv) [root@pga bin]# python manage.py createsuperuser

Username (leave blank to use 'root'): richyen

Email address: support@enterprisedb.com

Password:

Password (again):

Superuser created successfully.

(myprojectenv) [root@pga bin]#
Now, the moment of truth! Start the application up, and point your browser to the corresponding port:
(myprojectenv) [root@pga bin]# python manage.py runserver 0.0.0.0:5000

Watching for file changes with StatReloader

Performing system checks...


System check identified no issues (0 silenced).

December 06, 2019 - 07:06:22

Django version 3.0, using settings 'myproject.settings'

Starting development server at http://0.0.0.0:5000/

Quit the server with CONTROL-C.
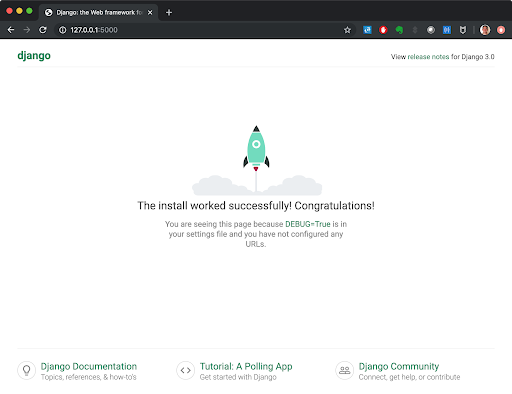
Hooray! We’re in business!
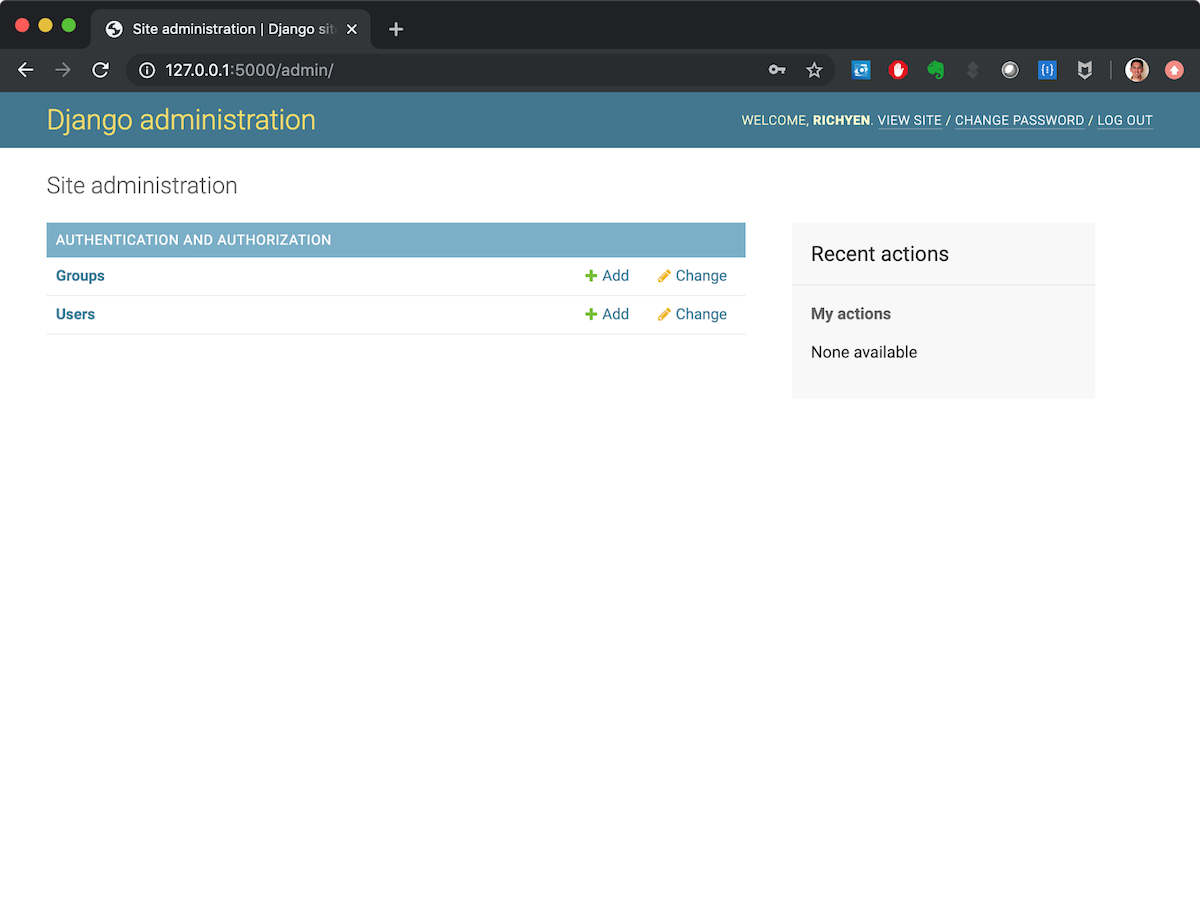
To verify that your superuser works, go to the “/admin” page:
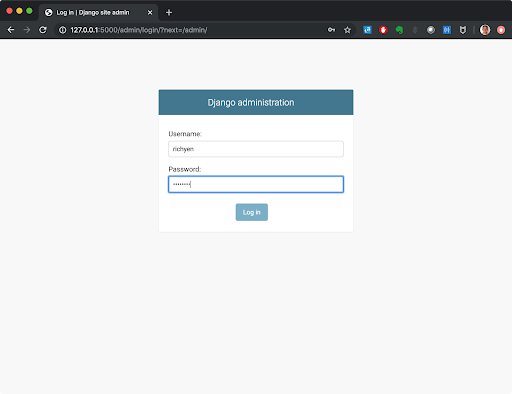
Enter the password, and we’re in!
Building a simple app in Django with PostgreSQL
At this point, we’ve got a Postgres database running with Django. Now, how can we build out Django further, and leverage the ORM to do the heavy lifting of interacting with the database?
Let’s make the app display a relationship between cars and their owners:
(myprojectenv) [root@pga bin]# python manage.py startapp cars
This creates a folder called “cars”, which consists of the following important files:
(myprojectenv) [root@pga bin]# cd cars/

(myprojectenv) [root@pga cars]# ls -l

total 24

-rw-r--r-- 1 root root   63 Dec  6 07:29 admin.py

-rw-r--r-- 1 root root   94 Dec  6 07:29 apps.py

-rw-r--r-- 1 root root    0 Dec  6 07:29 __init__.py

drwxr-xr-x 2 root root 4096 Dec  6 07:29 migrations

-rw-r--r-- 1 root root   57 Dec  6 07:29 models.py

-rw-r--r-- 1 root root   60 Dec  6 07:29 tests.py

-rw-r--r-- 1 root root   63 Dec  6 07:29 views.py
Let’s tell the framework what a Car and a Driver look like, by defining them in “models.py”:
(myprojectenv) [root@pga bin]# cat cars/models.py

from django.db import models


class Driver(models.Model):

    name = models.TextField()

    license = models.TextField()

class Car(models.Model):

    make = models.TextField()

    model = models.TextField()

    year = models.IntegerField()

    vin = models.TextField()

    owner = models.ForeignKey("Driver", on_delete=models.SET_NULL, null=True)
Then, make the migration to build the tables in the database, and run it:
(myprojectenv) [root@pga bin]# python manage.py makemigrations cars

Migrations for 'cars':

  cars/migrations/0001_initial.py

    - Create model Driver

    - Create model Car

(myprojectenv) [root@pga bin]# python manage.py migrate cars

Operations to perform:

  Apply all migrations: cars

Running migrations:

  Applying cars.0001_initial... OK
Take a look in the database, and you’ll see that the table has been created with the format “<project_name>_<object_name>”:
postgres=# \d

                     List of relations

 Schema |            Name             |   Type   |  Owner

--------+-----------------------------+----------+----------

 public | auth_group                  | table    | postgres

 public | auth_group_id_seq           | sequence | postgres

<...>

 public | cars_car                    | table    | postgres

 public | cars_car_id_seq             | sequence | postgres

 public | cars_driver                 | table    | postgres

 public | cars_driver_id_seq          | sequence | postgres
I also created some random data for the purposes of this tutorial:
postgres=# select * from cars_driver;

 id |   name   | license

----+----------+----------

  1 | John Doe | Z1234567

  2 | Jane Doe | Z9876543

(2 rows)


postgres=# select * from cars_car;

 id |  make  | model  | year |               vin                | owner_id

----+--------+--------+------+----------------------------------+----------

  1 | Ford   | F-150  | 2004 | 01083da2df15d6ebfe62186418a76863 |        1

  2 | Toyota | Sienna | 2014 | 53092a17afa460689ca931f0d459e399 |        1

  3 | Honda  | Civic  | 2018 | 844c56840b5fc26d414cf238381a5f1a |        2

  4 | GMC    | Sierra | 2012 | 29aeffa4d5aa21d25d7196db3728f72c |        2

(4 rows)
We need to tell Django how to pull stuff out of the database and display it. By editing the “cars/views.py” file, we can accomplish this:
(myprojectenv) [root@pga cars]# cat views.py

from django.shortcuts import render

from cars.models import Car, Driver


def car_detail(request, pk):

    owner_obj = Driver.objects.get(pk=pk)

    car_objs = Car.objects.filter(owner_id=owner_obj.id)

    context = {

        "vehicles": car_objs,

        "drivers": owner_obj,

    }

    return render(request, "car_detail.html", context)
We also need to define a template so that the “views.py” procedures have a place to send the data. First, we create a “cars/template/base.html” file that contains the more generic elements of an HTML page:
(myprojectenv) [root@pga cars]# cat templates/base.html

<!doctype html>

<html>

    <head>

        <meta charset="utf-8">

        <meta name="viewport" content="width=device-width, initial-scale=1">


        <title>Contacts</title>

        <link rel="stylesheet" href="https://unpkg.com/tachyons@4.10.0/css/tachyons.min.css"/>

    </head>

    <body>

{% block page_content %}{% endblock %}

    </body>

</html>
Then, we define how the “car_detail.html” template will look:
(myprojectenv) [root@pga cars]# cat templates/car_detail.html

{% extends "base.html" %}

{% block page_content %}

        <div class="mw6 center pa3 sans-serif">

            <h1 class="mb4">Driver: {{ drivers.name | linebreaks }}</h1>

            <header class="b mb2">License: {{ drivers.license }}</header>

        {% for v in vehicles %}

            <div class="pa2 mb3 striped--near-white">

                <div class="pl2">

                    <p class="mb2">Make/Model: {{ v.make }} {{ v.model }}</p>

                    <p class="mb2">Year: {{ v.year }}</p>

                    <p class="mb2">Vin: {{ v.vin }}</p>

                </div>

            </div>

        {% endfor %}

        </div>

{% endblock %}
Finally, we need to tell the webserver how to route the traffic. First, in “cars/urls.py”, we define how the REST behavior works:
(myprojectenv) [root@pga cars]# cat urls.py

from django.urls import path

from . import views


urlpatterns = [

    path("<int:pk>/", views.car_detail, name="car_detail"),

]
Note that this will allow us to retrieve Car and Driver objects based on the ID provided in the URL.
Then, in “myproject/urls.py,” we define the root URL for the “cars” application:
from django.contrib import admin

from django.urls import path, include


urlpatterns = [

    path('admin/', admin.site.urls),

    path("cars/", include("cars.urls")),

]
Tell Django that the “cars” app is active by adding “cars” to the “INSTALLED_APPS” list in “myproject/settings.py”:
Spin up the webserver:
(myprojectenv) [root@pga bin]# python manage.py runserver 0.0.0.0:5000

Watching for file changes with StatReloader

Performing system checks...


System check identified no issues (0 silenced).

December 09, 2019 - 23:53:09

Django version 3.0, using settings 'myproject.settings'

Starting development server at http://0.0.0.0:5000/

Quit the server with CONTROL-C.
And visit http://127.0.0.1:5000/cars/1/:
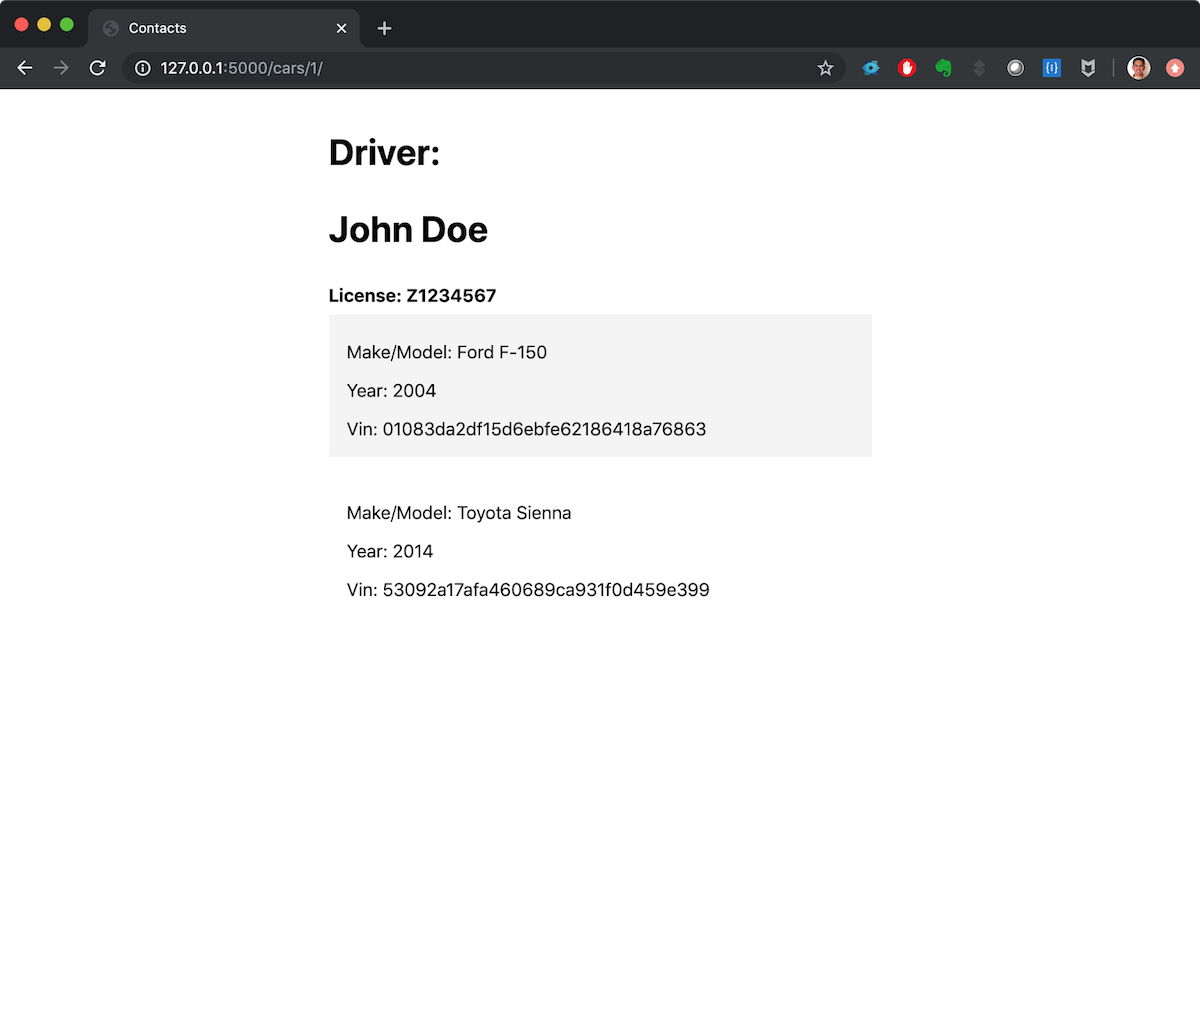
Change the “1” to a “2” in the URL, and we will get the Driver with `id=2` and the Cars owned by that Driver:

This is a very simple example of how Django can be used to serve up web pages with data from PostgreSQL. More information about how to define relationships between Django and PostgreSQL (many-to-many relationships, complex joins, complex filtering, etc.) can be found at the Django documentation.
Related Content
BLOG POST
How to secure PostgreSQL
BLOG POST
Oracle to PostgreSQL Migration Guide
TUTORIAL
How to use Coalesce in PostgreSQL
BLOG POST
How to Monitor PostgreSQL Like a Pro!
BLOG POST
PostgreSQL Vs. MySQL